If you have ever cut into a piece of chicken to check if it is done, you already know the problem. You are either staring at a slightly pink center wondering if it is safe, or you have cooked it so long that the texture resembles a dry sponge. Timing charts are approximate at best. Pressing the meat and comparing firmness to your thumb tells you almost nothing reliable. And color alone is not a valid indicator of safe chicken internal temperature, according to the USDA. Chicken can look fully white inside and still be underdone. It can also look slightly pink near the bone and be perfectly safe. The only tool that resolves this with certainty is a fast instant-read thermometer, and once you use one correctly, you will not understand how you cooked chicken without it.
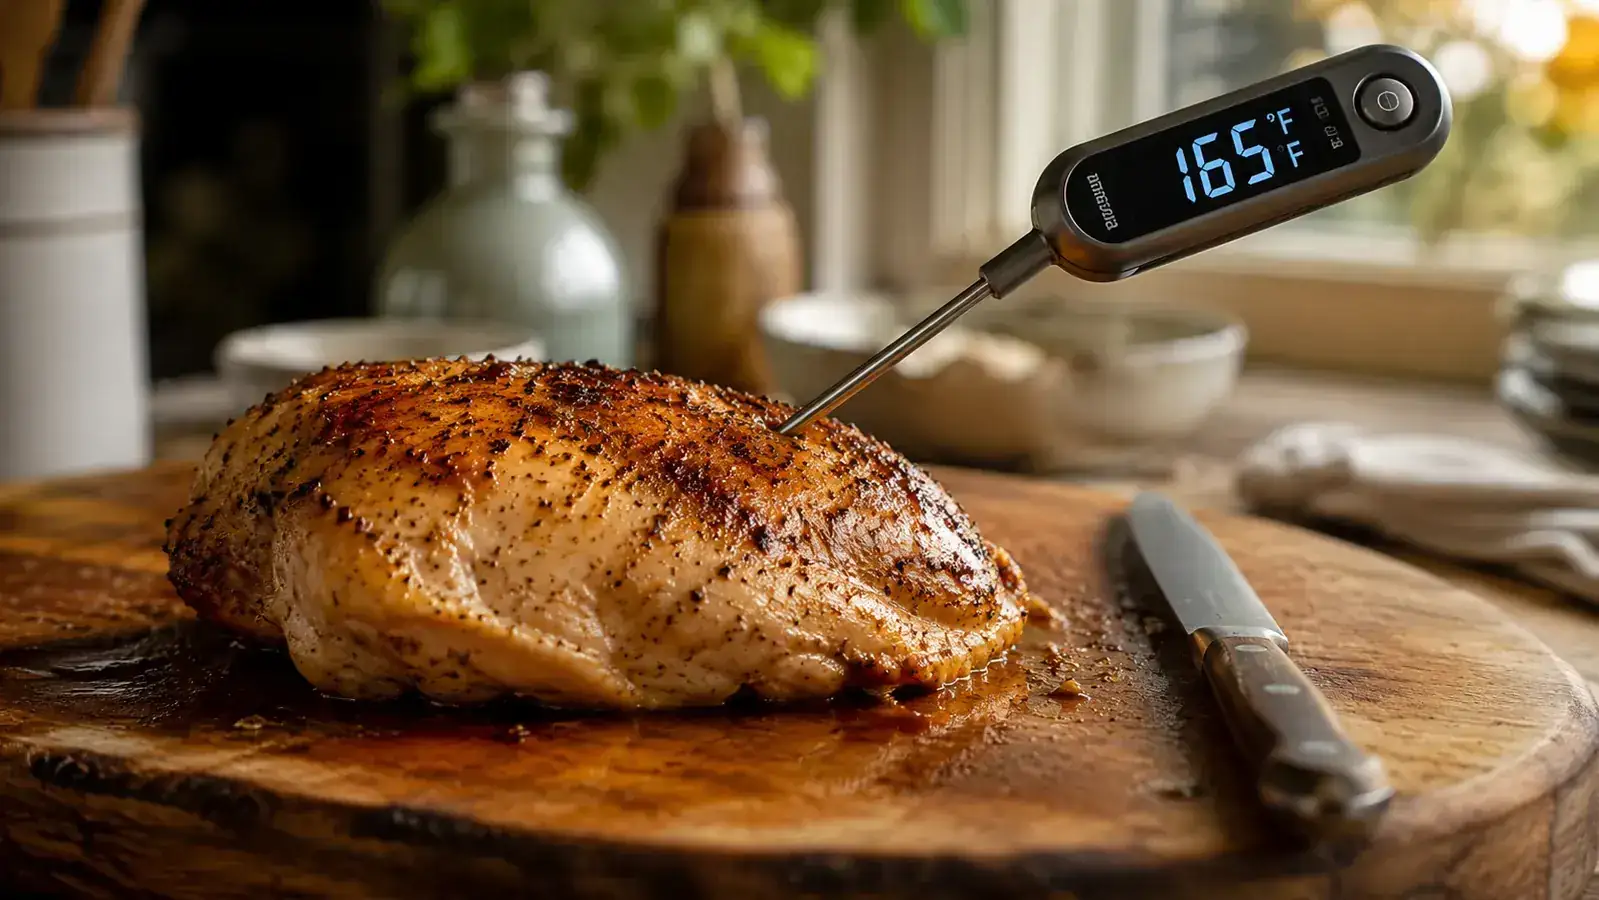
The USDA safe internal temperature for chicken is 165F, measured at the thickest part of the meat, away from bone. That single number removes all the anxiety from cooking chicken. I use the Alpha Grillers instant-read meat thermometer for this task. It reads in about two to three seconds, the display is easy to read in a dimly lit kitchen, the probe folds flat so it stores in a drawer without taking up counter space, and it costs under $15. For a tool you will reach for every single time you cook chicken, that is a straightforward decision. Below is a step-by-step method that takes the guesswork out of chicken completely.
Tired of guessing whether your chicken is safe? This $15 thermometer reads in 2 seconds.
The Alpha Grillers instant-read thermometer has 89,000 reviews and a 4.8-star rating. It folds flat, reads fast, and will pay for itself the first time it saves you from dry overcooked chicken or an anxious dinner where nobody is sure if the meat is done.
Amazon Check Today's Price on Amazon →Step 1: Know the Target Temperature Before You Start Cooking
Before the chicken even hits the pan or the grill, lock one number in your head: 165F. That is the USDA minimum safe internal temperature for all chicken, including boneless breasts, skin-on thighs, drumsticks, wings, and whole birds. It applies whether you are roasting, pan-searing, grilling, poaching, baking, or air frying. Some experienced cooks intentionally pull bone-in chicken thighs at a higher temperature, around 175F to 185F, because the connective tissue and collagen in dark meat break down at higher heat and the result is more tender and silkier. But 165F is the safety floor, and it is the number your instant-read thermometer is helping you hit. Never pull chicken before your thermometer confirms it has reached that point.
Write this number on a sticky note inside a cabinet door if you need to. After a few weeks of using a thermometer consistently, hitting 165F will feel automatic. But having it visible removes any hesitation in the moment, especially when you are juggling multiple things on the stove and you do not want to second-guess yourself. The goal of this guide is to build a habit around checking temperature rather than guessing by sight or timing, and this is where that habit starts.
Step 2: Prepare Your Thermometer and Keep It Clean
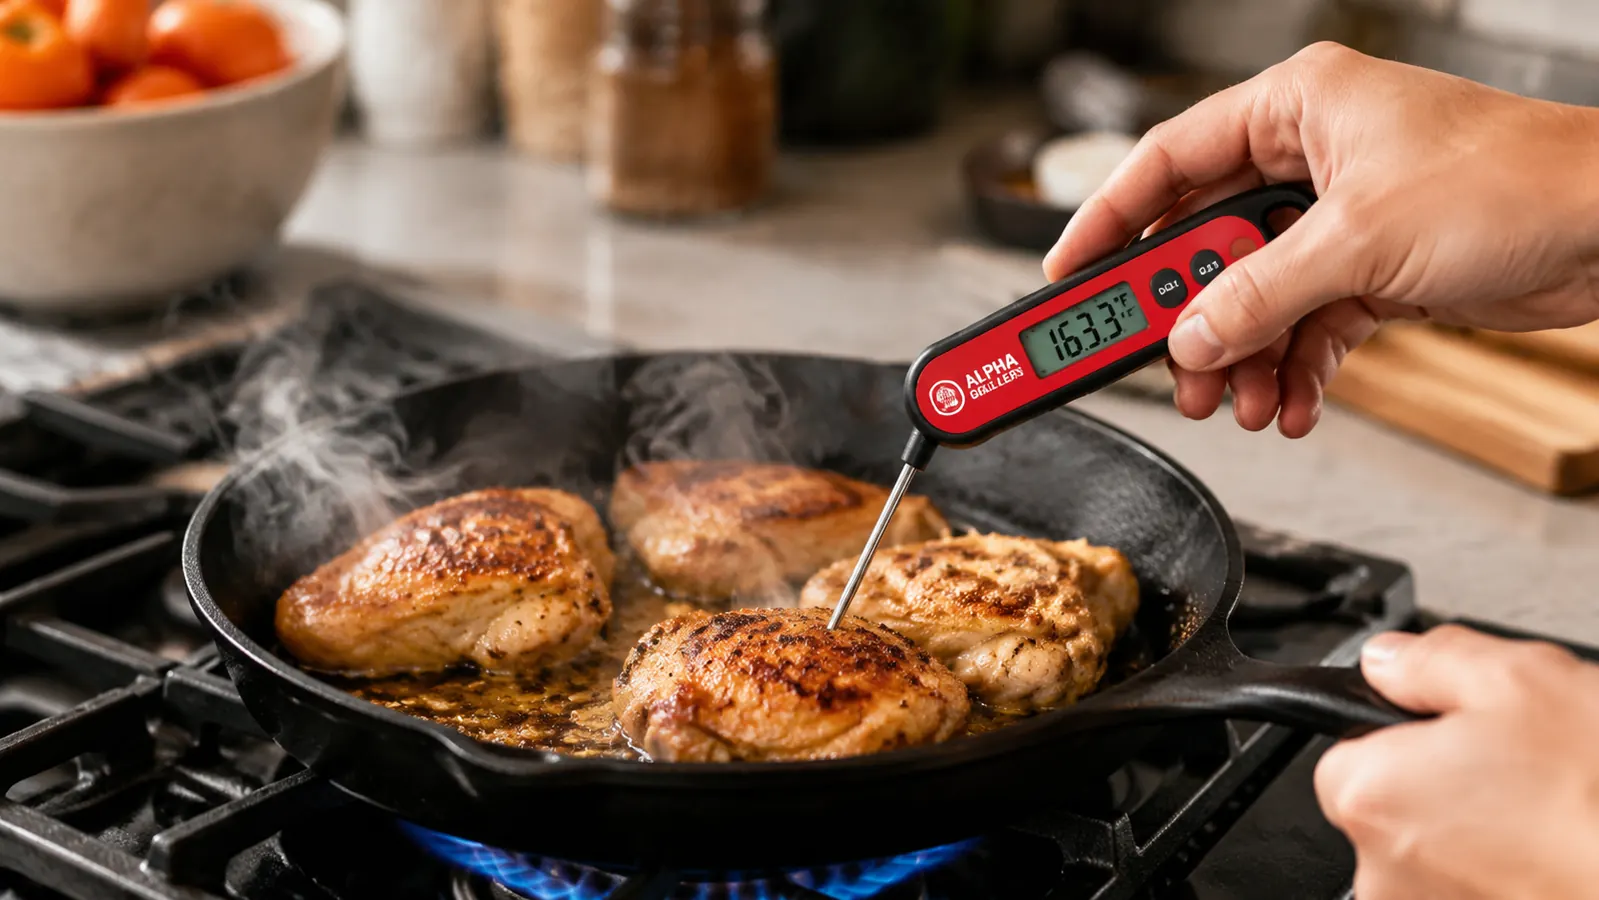
The Alpha Grillers thermometer unfolds with a satisfying click, and the probe extends automatically when you open it past about 90 degrees. Before you insert it into cooked chicken, make sure the probe is clean and dry. If you used it to check raw chicken at the start of cooking and need to check the same piece again partway through, wipe the probe with a clean paper towel between readings. Cross-contamination from raw to partially cooked surfaces is a real concern, particularly when you are preparing multiple pieces at different stages of doneness.
When you are ready to check the temperature, hold the thermometer by the body, not the probe. Insert the probe smoothly and wait for the reading to stabilize before you pull it out. The Alpha Grillers unit displays temperature within two to three seconds of full insertion. Do not yank the probe out the moment numbers appear on the screen. Wait for the display to stop climbing and hold steady for a full second. That stable number is your actual internal chicken temperature. A reading that is still climbing when you pull the probe means you have not reached thermal equilibrium in the meat yet.

Step 3: Insert the Probe in the Right Location
Where you insert the thermometer probe matters as much as the target temperature itself. For a boneless chicken breast, push the probe into the thickest part of the meat, typically at the center of the widest end, and angle it horizontally so you are reading through the deepest portion of the breast rather than skimming the surface. For bone-in chicken thighs or drumsticks, insert the probe into the thickest part of the flesh and angle it away from the bone. The area adjacent to bone runs hotter than the surrounding meat and will give you a falsely high reading, making you think the piece is done when the true center of the muscle is still underdone.
For a whole roasted chicken, you need to check at least two spots: the thickest part of the breast and the innermost part of the thigh near the joint where it meets the body. The thigh is almost always the last part of the bird to reach a safe internal temperature because it is denser and sits closer to the carcass cavity. If your breast registers 170F but your thigh reads 155F, the bird stays in the oven. Both locations need to hit 165F before the chicken comes out. Checking only the breast and calling the bird done is one of the most common sources of undercooked chicken at a dinner table.
Where you place the probe matters as much as the target number. Bone-adjacent readings run hotter and will fool your thermometer every single time.
Step 4: Check the Temperature Early and More Than Once
The most consistent mistake home cooks make when cooking chicken is waiting too long to check the internal temperature. By the time they realize the chicken might be approaching done, it has been sitting over heat for five extra minutes and the temperature has already climbed past 175F. Most boneless chicken breasts cooked in a 375F oven will be approaching the safe zone somewhere between 20 and 28 minutes depending on thickness. Start checking at the 18-minute mark and check every two to three minutes from there. Do not wait for a timer to go off and assume the chicken is done.
The goal is to pull the chicken off heat when your instant-read thermometer reads between 160F and 163F, then let carryover cooking finish the job during the rest. That three-to-five degree window is where the juiciest chicken lives. If you wait until the thermometer reads a full 165F while the piece is still sitting over a hot burner or in the oven, the internal temperature will coast to 170F or higher by the time it hits the cutting board. Check early. Pull at 160F. Let the rest period do the final degrees of work.
Step 5: Rest the Chicken and Confirm Before Cutting
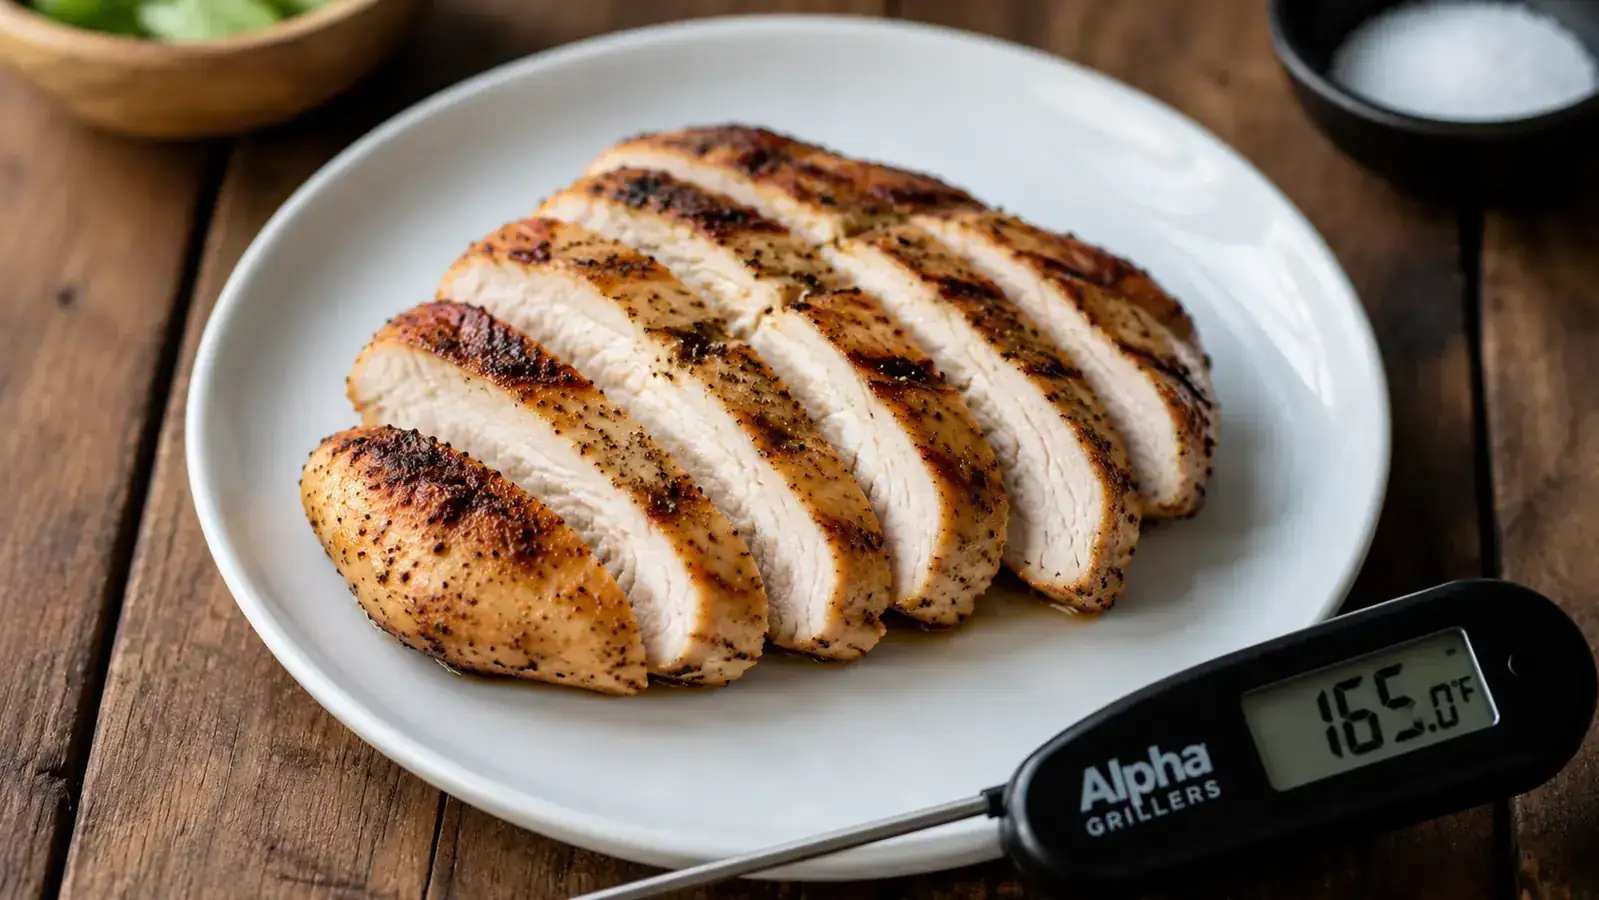
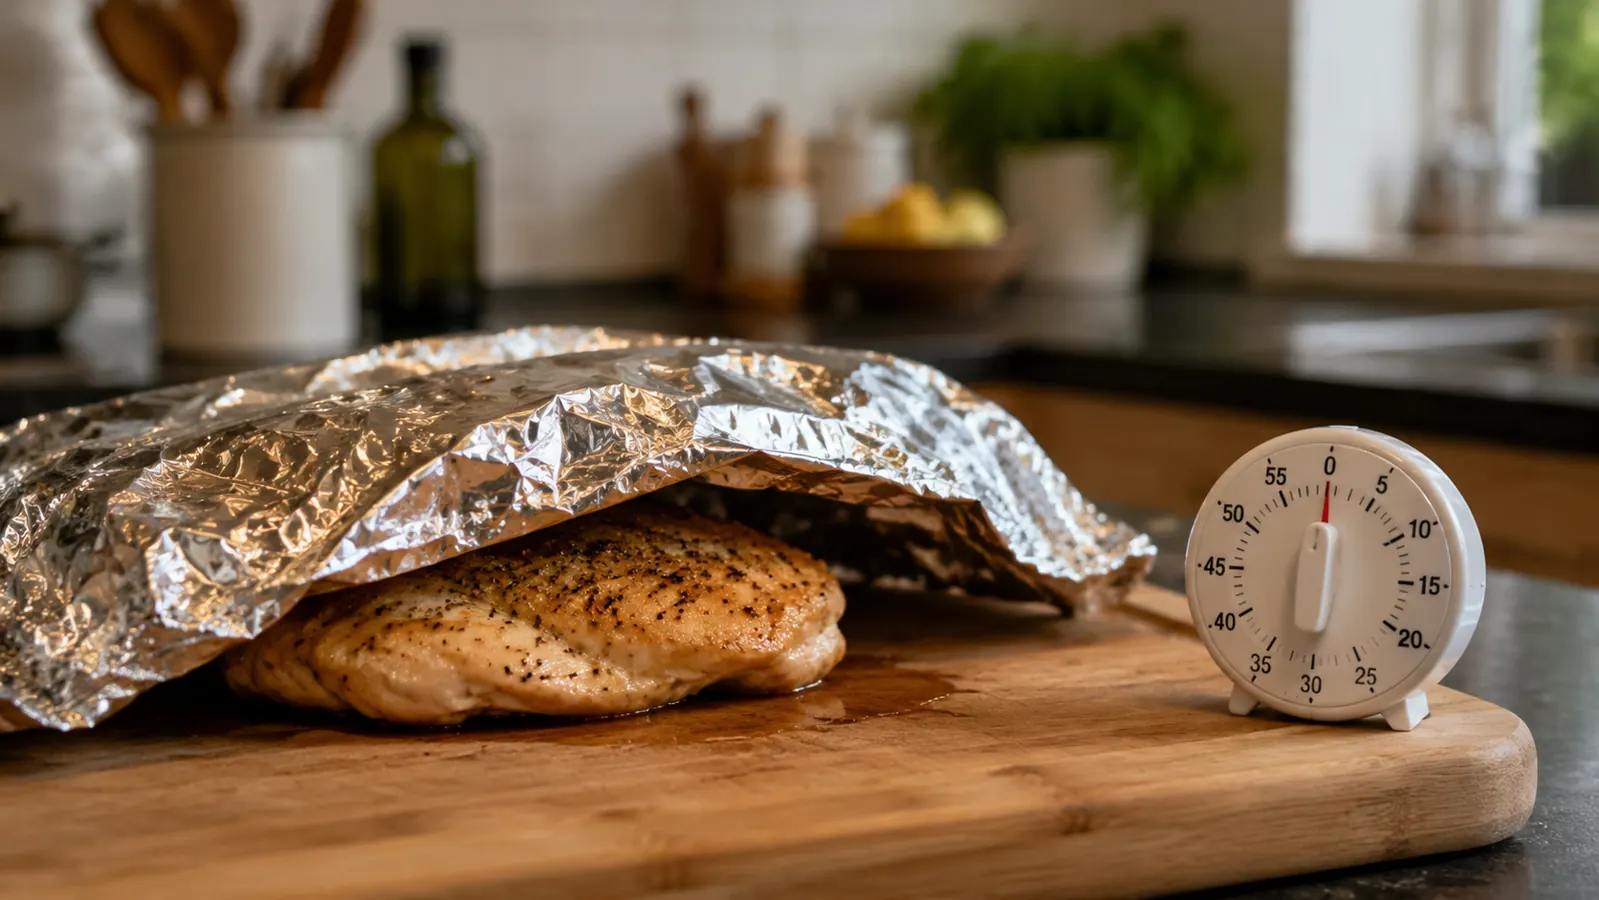
Resting cooked chicken is not optional, and it is not just a technique reserved for steaks and roasts. When chicken comes off heat, the muscle fibers are contracted tight from the sudden application of high temperature, and the juices have been forced toward the center of the meat. If you cut into it immediately, those juices run out onto the cutting board and you are left with noticeably drier meat. A proper rest gives the fibers time to relax and reabsorb the liquid that has pooled in the center. For chicken breasts and thighs, rest for five minutes under a loose foil tent. For a whole roasted bird, rest for ten to fifteen minutes before carving.
During the rest period, carryover cooking continues to raise the internal temperature by another three to five degrees. This is precisely why pulling at 160F to 163F works so well: the rest period completes the cooking safely and without overshooting. After the rest, check the internal temperature one final time with your instant-read thermometer before you slice. A reading between 165F and 170F means the chicken is safe and still moist. A reading above 175F in a boneless breast means it will be drier than ideal. With a reliable thermometer and this method, you can consistently land in that sweet spot.
What Else Helps
An instant-read thermometer is the single most important tool for consistently safe and juicy chicken, but a few supporting habits make it work even better. Pounding boneless chicken breasts to an even thickness before cooking, typically about three-quarters of an inch, means the thin tapered end and the thicker center finish at the same time. Without this step, the thin end will be overcooked and dry by the time the thermometer confirms the thicker center has reached 165F. A meat mallet or a rolling pin both work fine. A quick brine, even just 20 to 30 minutes in lightly salted water before cooking, helps the muscle fibers hold onto moisture under heat and noticeably improves the final texture. And pulling refrigerated chicken out of the fridge 15 to 20 minutes before it hits the heat reduces the internal cold spot that slows even cooking from edge to center.
None of these steps require additional gadgets or complicated prep. They are simple habits that make your thermometer readings more accurate and your finished chicken more consistent. The Alpha Grillers instant-read thermometer handles the accuracy and confirmation. These supporting techniques give the thermometer the best possible conditions to do its job. For a deeper look at the thermometer itself and how it holds up over a year of regular cooking, see our full one-year Alpha Grillers review. And if you want more reasons to keep one permanently in your kitchen drawer, our roundup of 10 reasons an instant-read thermometer makes you a better cook covers the full picture.
Ready to stop second-guessing your chicken? The Alpha Grillers thermometer is the fastest fix in your kitchen.
Two-to-three second reads, a clear display, a folding probe that fits in any drawer, and a track record backed by 89,000 reviews and a 4.8-star average. If you cook chicken more than once a week, this thermometer earns its spot in your kitchen immediately.
Amazon Check Today's Price on Amazon →