I used to buy salad greens with good intentions and throw half of them away three days later. They would turn slimy at the bottom of the bag, or wilt into sad, wet ribbons because I had not dried them properly before storing. The fix turned out to be two things: a salad spinner and a method that takes about ten minutes once a week. Now I prep greens on Sunday and they are still crisp and ready on Friday night.
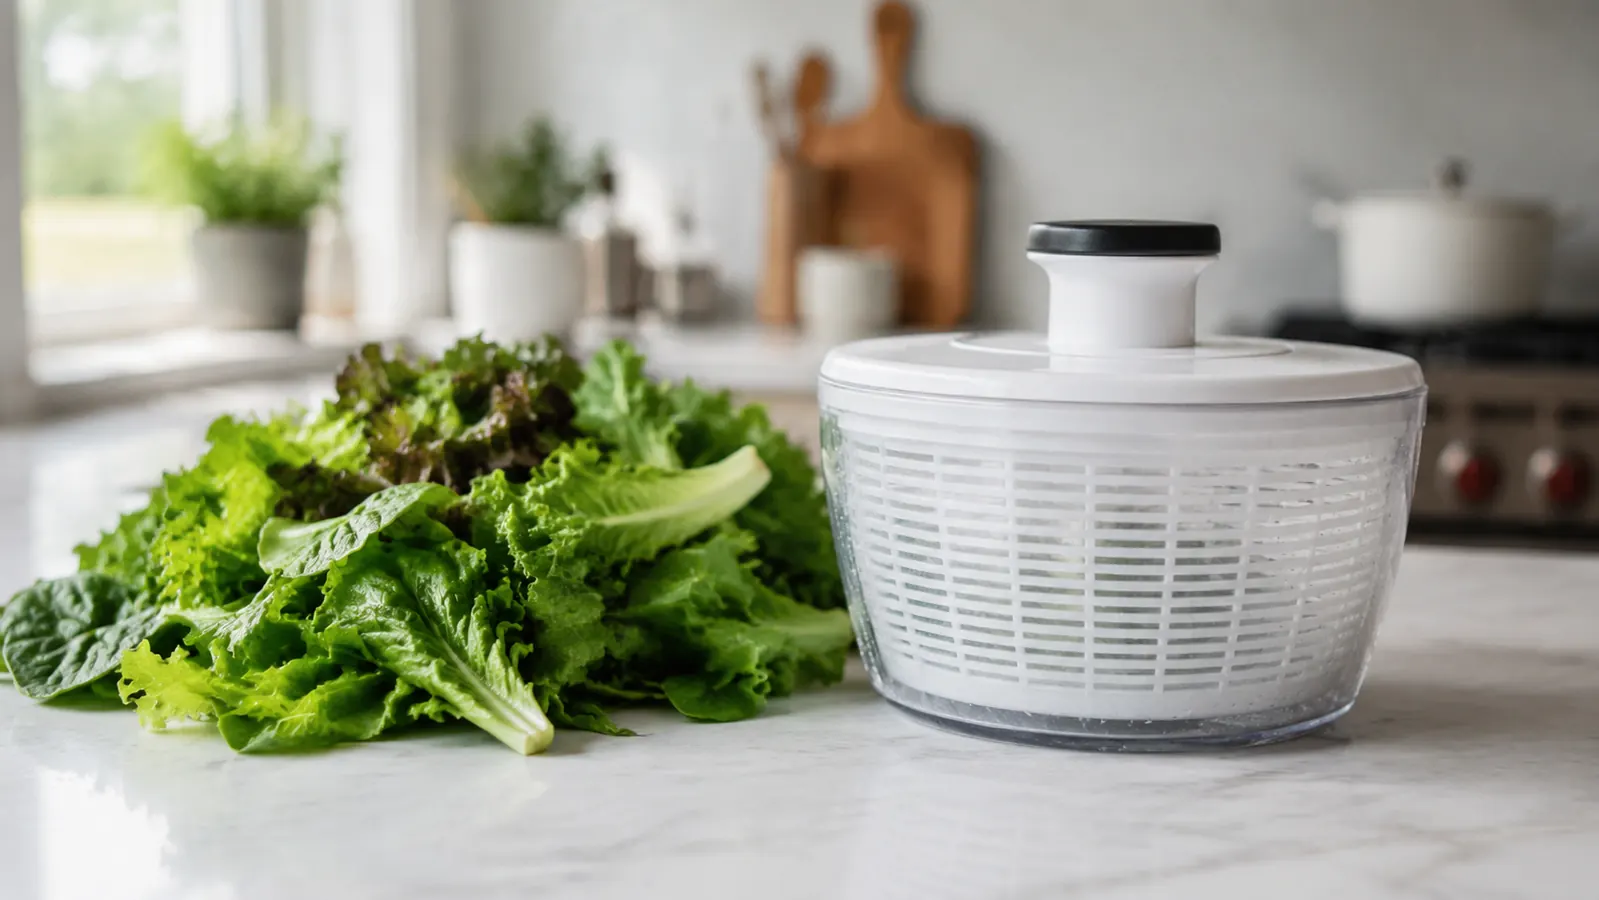
The tool doing the heavy lifting is the OXO Good Grips Salad Spinner. I resisted buying one for years because it seemed like unnecessary drawer clutter. Then I realized I was spending real money on produce I was quietly composting every week, and that changed the math fast. The OXO has over 53,000 Amazon ratings and a 4.7-star average, but more importantly it actually dries greens well enough that you can store them for a full week without them turning. Here is exactly how I do it.
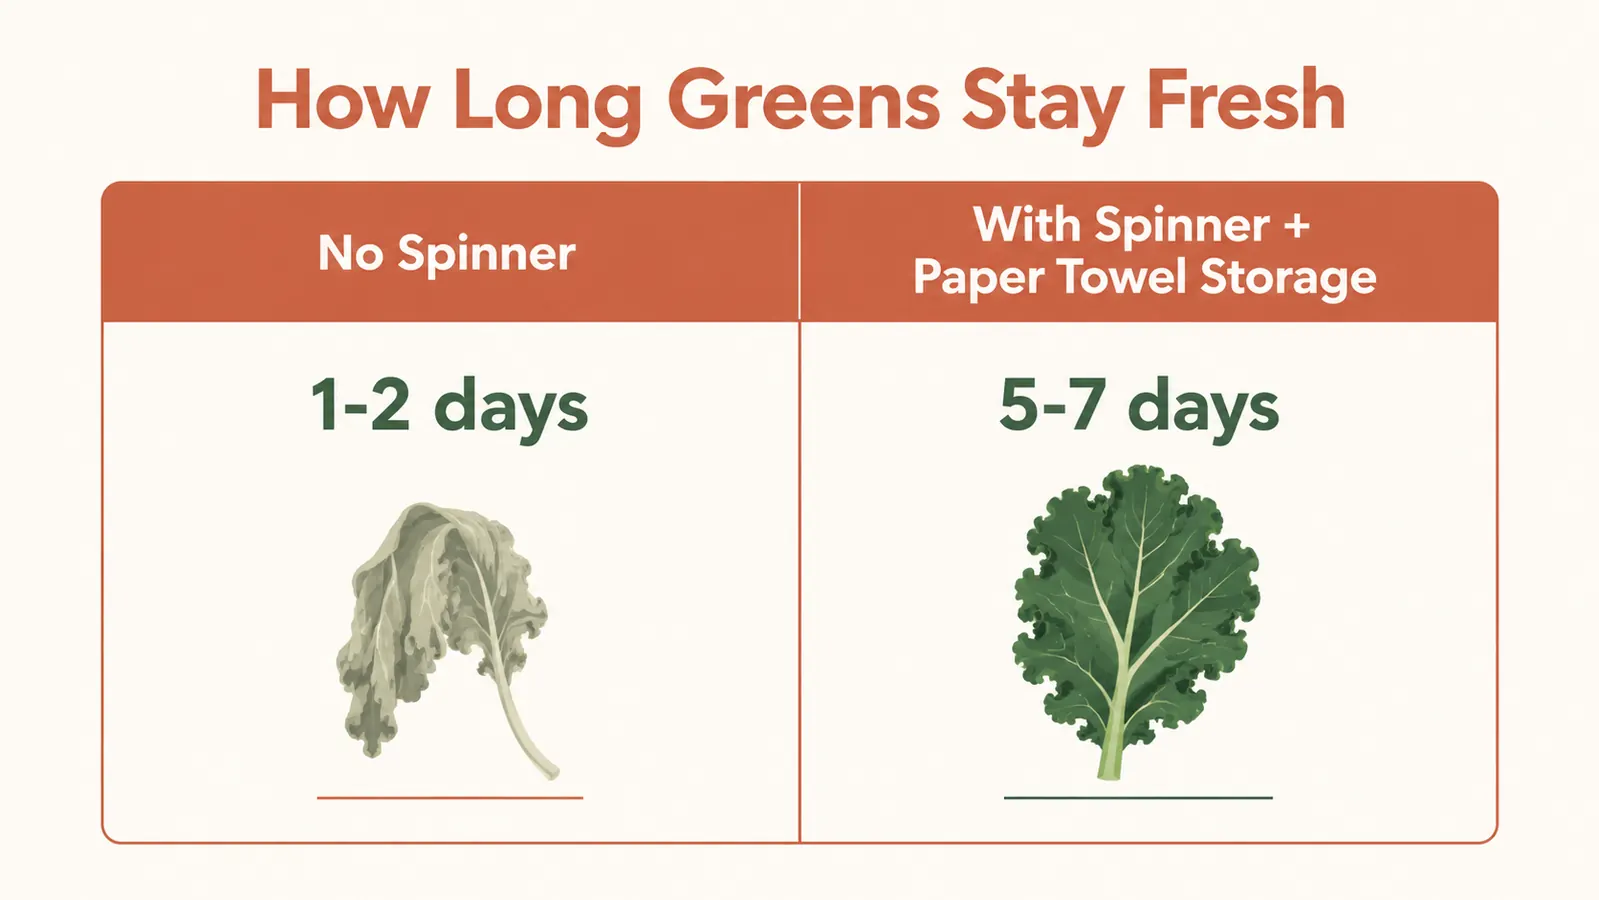
Stop throwing out soggy lettuce every week.
The OXO Good Grips Salad Spinner washes and dries greens in under five minutes. One Sunday prep session keeps your fridge stocked with crisp, ready-to-eat salad all week. Over 53,000 home cooks agree it earns its drawer space.
Amazon Check Today's Price on Amazon →Step 1: Fill the Spinner Bowl with Cold Water and Add Your Greens
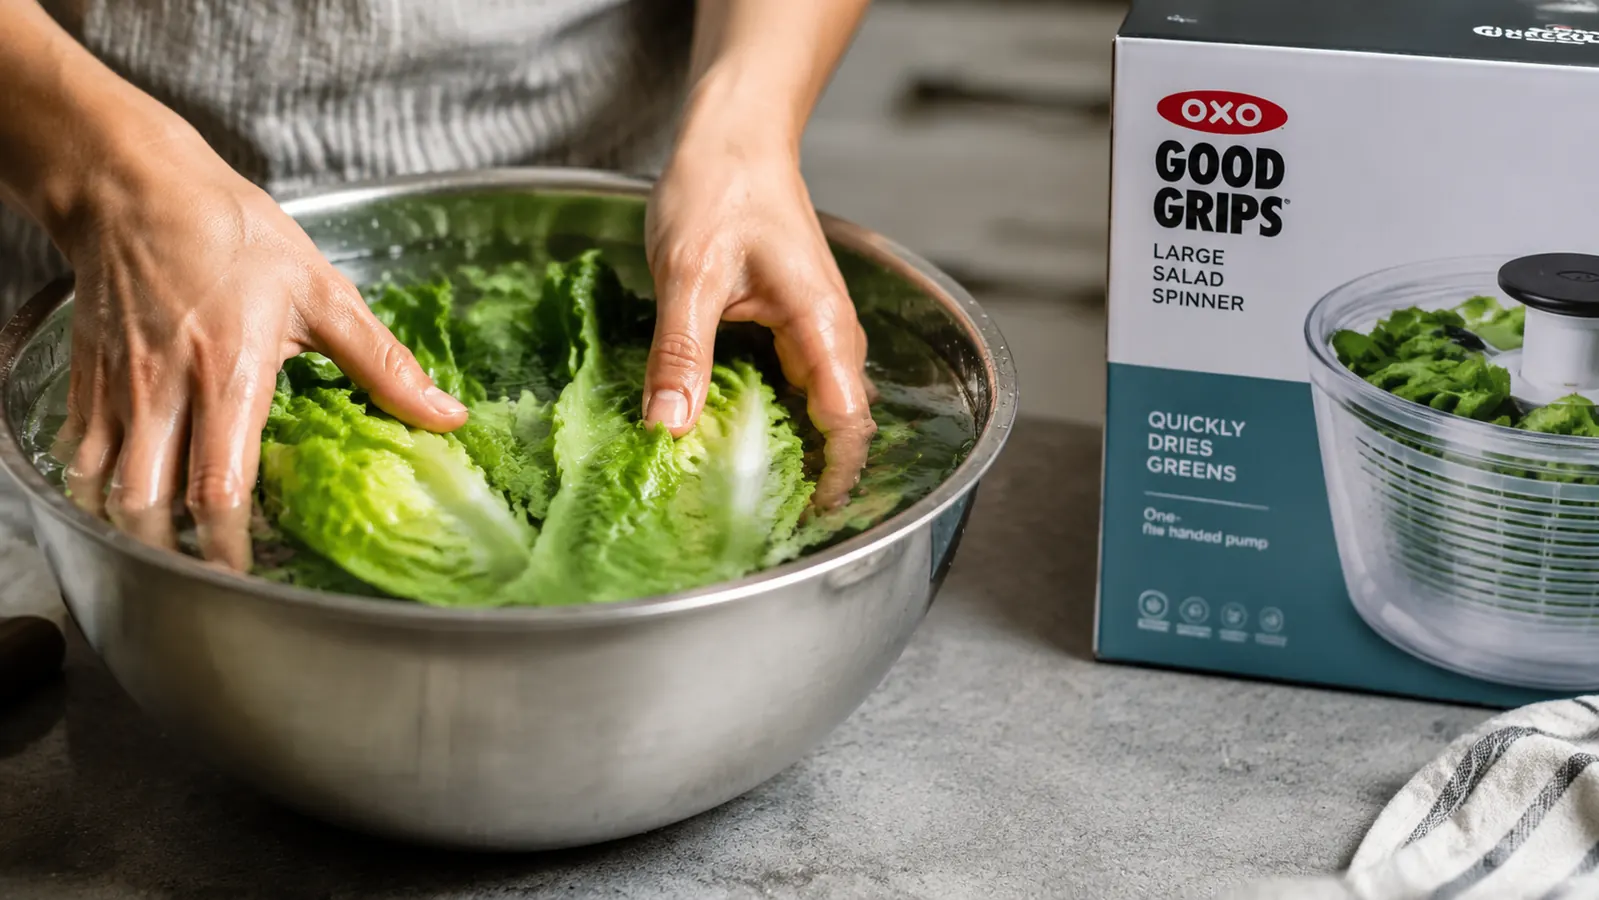
Pull the inner basket out of your OXO spinner and set it aside. Fill the outer bowl about halfway with cold water. Cold water is important here. It refreshes the cells of the leaf and firms up any greens that have started to soften during transport. If your greens look a little limp when you open the bag, add a few ice cubes and let them sit for five minutes before the wash cycle. I do this with spinach and arugula almost every time because those leaves wilt faster than sturdier types like romaine.
Submerge the greens in the water and swish them around with your hands for about thirty seconds. You are trying to loosen any grit, debris, or pesticide residue that clings to the leaves. Do not crowd the bowl. If you bought a large container of mixed greens, work in two batches. Washing too many leaves at once means the dirt just moves from leaf to leaf instead of settling to the bottom of the water.
Let the greens sit in the water for about a minute after swishing. You want any sand or grit to fall to the bottom of the bowl rather than back onto your leaves. Then lift the greens out with your hands, letting the water drain off, and transfer them into the inner basket. Do not dump the whole bowl into the basket or you pour all that settled dirt right back over the greens. This one habit alone makes a noticeable difference in how clean the greens actually are.
Step 2: Spin Until There Is Almost No Water Left in the Bowl
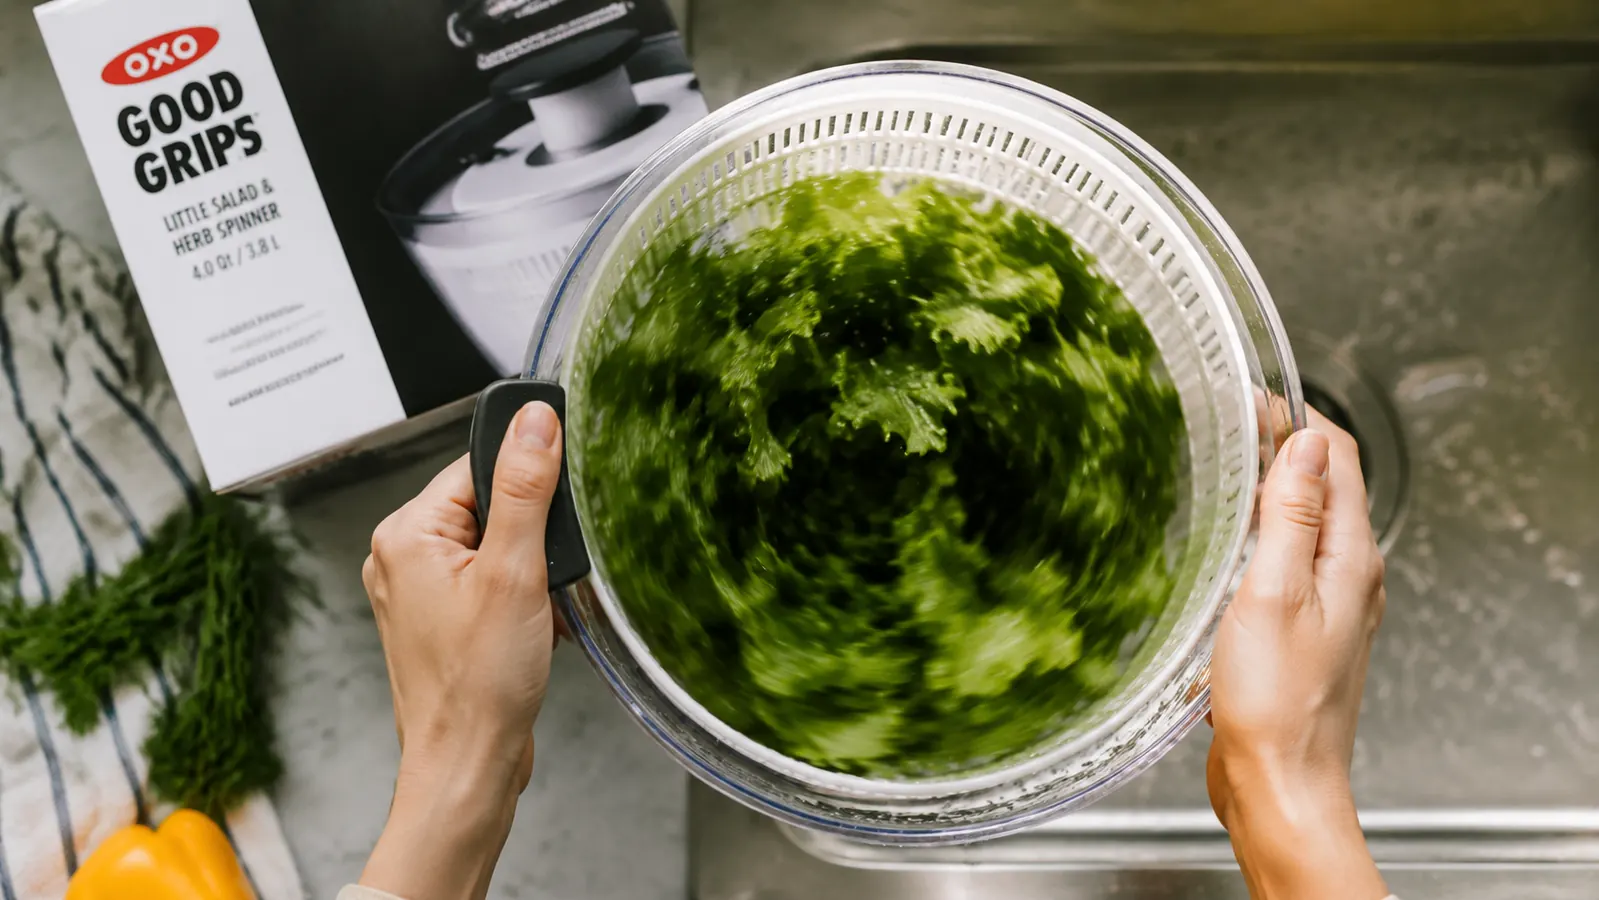
Place the basket back inside the outer bowl and lock the lid onto the OXO. Then pump the center button several times in quick, firm strokes. The OXO uses a pump mechanism rather than a crank handle, which I prefer because you get consistent speed without awkward wrist angles. Spin for about fifteen to twenty seconds on your first pass. The pump is easy on the wrist and requires no grip strength, which matters when you are doing this weekly with a full bowl.
Here is where most people stop too early. After the first spin, lift the basket and dump the water out of the outer bowl. You will probably see a significant puddle in there, which means your greens still have a lot of surface moisture. Put the basket back in and spin again for another fifteen seconds. Then dump the water again. On a good session I do two or three spin cycles before the greens are genuinely dry. The goal is almost no visible water pooling at the bottom of the bowl after that final pass. Stopping after one spin is the single biggest reason greens go slimy in storage.
The OXO also has a brake button on the lid that stops the basket instantly when you press down. This sounds like a small detail but it matters in practice. Without it you have to wait for the basket to slow on its own before lifting it out, and on cheaper spinners that can take a full ten or fifteen seconds of wobbling. With the OXO you press, it stops, you dump the water, and you are back into the next spin cycle immediately. The whole drying process takes under three minutes.
Spinning once is not enough. Two or three passes, with a water dump between each, is what actually gets greens dry enough to last a week.
Step 3: Do a Quick Paper Towel Pat for Delicate Leaves
For sturdier greens like romaine, kale, or cabbage slaw, the spinner alone is enough. But for more delicate leaves like baby spinach, watercress, or butter lettuce, I do one extra step. Spread the spun greens on a clean kitchen towel or two layers of paper towels and let them air out for two to three minutes. Then gently pat the tops. You are not pressing hard, just wicking away any remaining surface droplets the spinner could not reach.
This sounds fussy but it takes less than three minutes and it is the difference between greens that last five days and greens that last seven. Moisture is what feeds the bacteria that causes slime. The drier you get the leaves before refrigerating, the longer they hold. Think of it the same way you would pat a piece of fish dry before searing it: the drier the surface, the better the result. If you are prepping romaine for Caesar salads or sturdier greens for grain bowls, skip this step and go straight to storage.
Step 4: Store Greens with a Paper Towel Layer in an Airtight Container
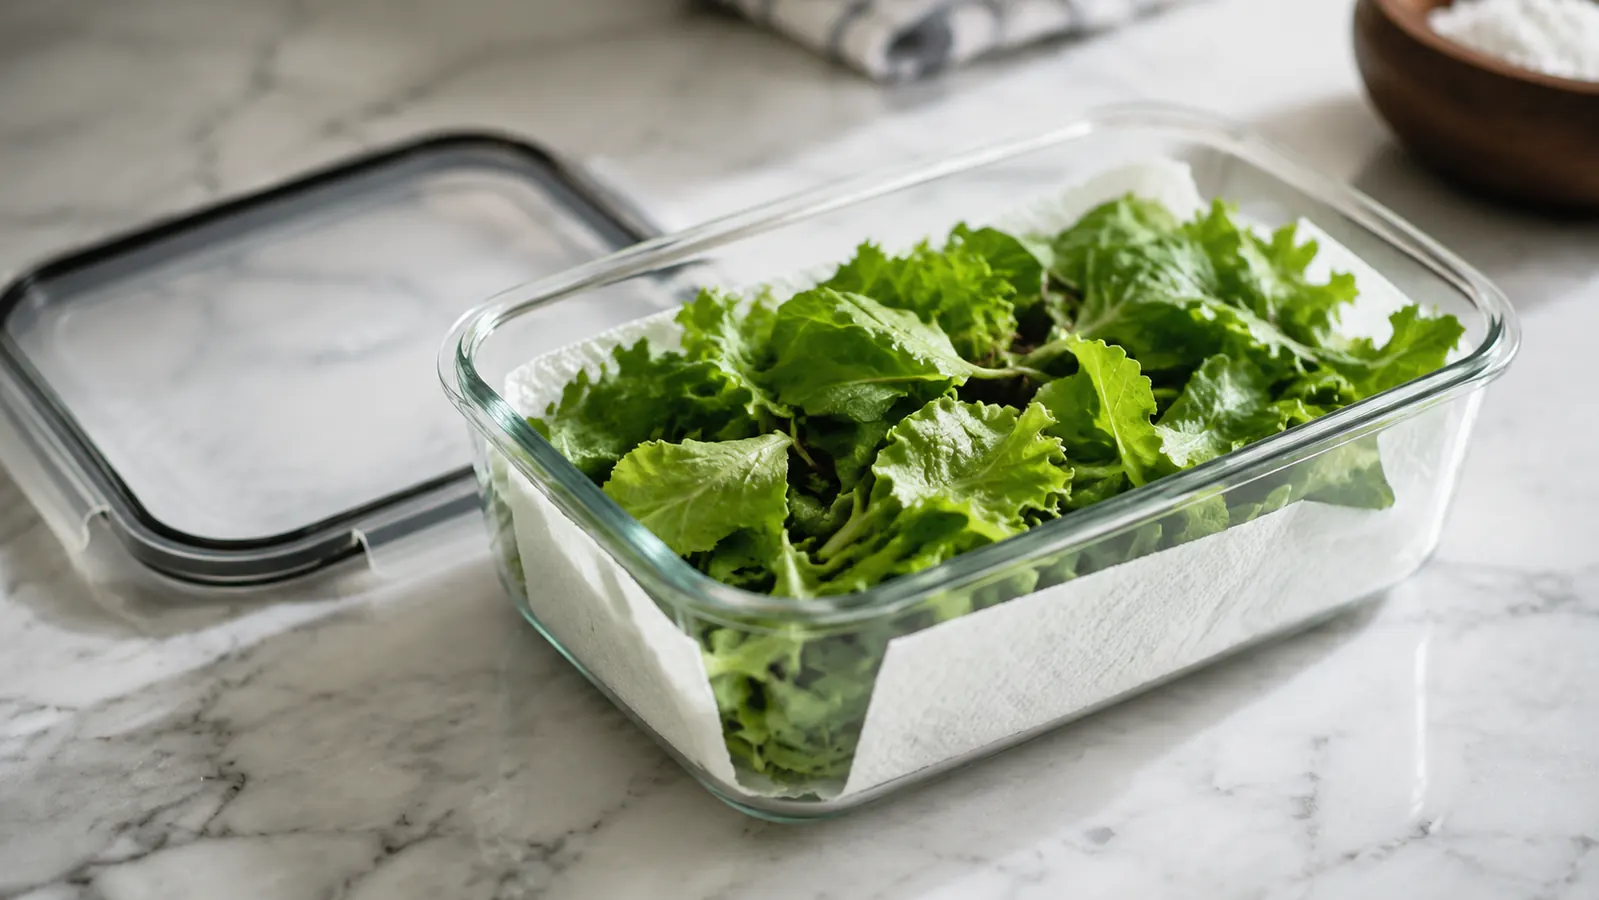
This is the storage method that made the biggest difference for me. Take a glass or BPA-free plastic container with a tight lid and line the bottom with a single layer of paper towel. Add your dry greens, then lay another paper towel on top before closing the lid. The paper towel absorbs any residual moisture and acts as a buffer against condensation that builds up when you open and close the fridge. Think of it as a moisture trap that keeps the greens sitting in a dry microenvironment.
Do not pack the greens in too tight. Airflow matters. If you are storing a large batch, use two containers rather than cramming everything into one. I use wide glass meal-prep containers with snap lids and they work perfectly. Change the paper towels after three or four days if you notice them getting damp. Properly stored, romaine and mixed greens will stay crisp and safe to eat for five to seven days. Spinach and arugula are more fragile and tend to last four to five days in my experience. Baby kale and Swiss chard fall somewhere in the middle at five to six days.
One important note: do not store greens near apples, pears, or bananas. Those fruits release ethylene gas, which accelerates browning in leafy vegetables. Keep them in a different section of your fridge. If you have a crisper drawer with humidity control, that is the ideal spot for your containers. Set the drawer to high humidity for leafy greens and you will get another day or two of shelf life compared to storing them on a regular fridge shelf.
Step 5: Give Them a Quick Re-Spin Before Serving
Even when stored well, greens can pick up a bit of surface condensation during the week. Before you dress and serve a salad, take thirty seconds to give the greens one more quick spin in the OXO. You are not washing them again, just removing condensation so your dressing clings to the leaves instead of sliding off into a watery pool at the bottom of the bowl. This step takes under a minute and makes a real difference in how the final salad tastes.
Dressing sticks to dry leaves and pools at the bottom of wet ones. If you have ever had a salad that tasted overdressed even though you used a moderate amount of dressing, wet greens were likely the culprit. A quick re-spin before serving keeps every bite balanced and avoids the vinegar puddle at the bottom of the bowl. It also wakes up greens that have been sitting in the fridge for a few days and gives them a noticeably crisper texture, almost as if they were just washed.
What Else Helps
Beyond the spinner and the paper towel storage method, a few other habits extend the life of your greens. First, do not wash greens you are not planning to use within the week. If you bought a large container and know you will only use half before it goes bad, store the unused portion dry and unwashed in its original packaging. Washing introduces moisture, and that clock starts ticking immediately once water touches the leaves.
Second, whole leaves last longer than torn or chopped ones. If you are prepping for the week, keep the leaves whole until you are ready to build each salad. The cut edges oxidize and brown faster than intact leaves. Tear or chop right before plating if you want the best-looking greens at the end of the week. Third, make sure your fridge is set between 35 and 38 degrees Fahrenheit. Anything warmer and produce degrades faster. Anything colder and you risk freezing delicate leaves, which collapses their cell structure and turns them mushy overnight.
One thing worth knowing about the OXO specifically: the large version holds enough greens for a family of four's worth of salads, and the bowl doubles as a serving bowl when you are eating straight from it. I use mine to spin, then drain, then serve. One tool, three uses, zero extra dishes. That is the kind of efficiency that keeps a gadget on the counter instead of in the cabinet. If you want to go deeper on why the OXO is worth picking over cheaper options, our two-year review of the OXO Good Grips Salad Spinner covers the lid mechanism, bowl durability, and how it handles heavy loads of kale and cabbage. And if you are still on the fence about whether a salad spinner earns its drawer space, our piece on 10 reasons a salad spinner is the most underrated kitchen tool covers the full range of things it handles beyond salad greens.
Ready to stop buying greens you end up throwing away?
The OXO Good Grips Salad Spinner is the tool behind this entire method. Large bowl, easy pump mechanism, and a brake button that stops the basket fast. It has a 4.7-star average across more than 53,000 reviews and it earns that rating every week in my kitchen.
Amazon Check Today's Price on Amazon →